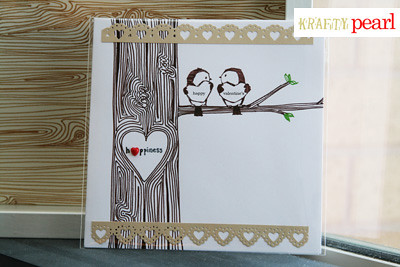
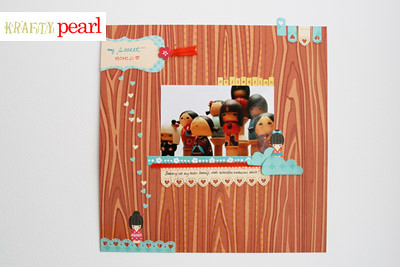
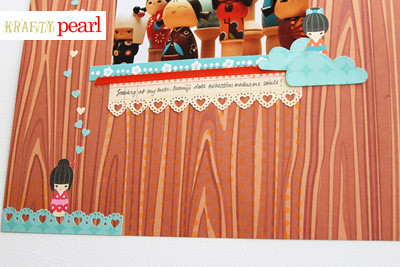
From envelopes to business card pocket page protectors, I love all kinds of pockets! I especially love to use them in layouts to organize and tuck in bits and pieces of journaling, photos, etc., like this:
Used in this layout: Old business card pocket sheet (similar to this) cut in half; My Little Shoebox bird stamp, pattern papers; Stampin' up roller numbers stamp; Martha Stewart heart all over the page punch; EK Success border and heart punches; Adirondack pigment inks; Stickles; basic letter stamp set (love this one from Staples); 3D Dots; transparency; watercolor
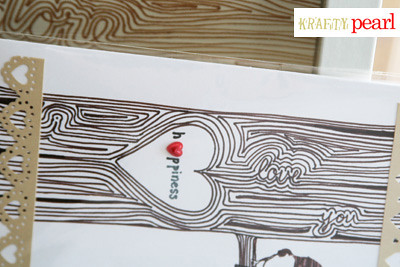
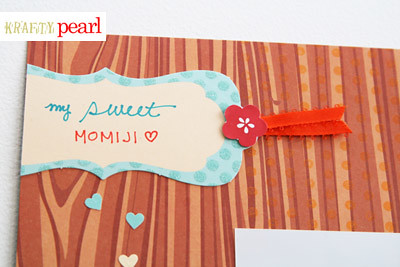
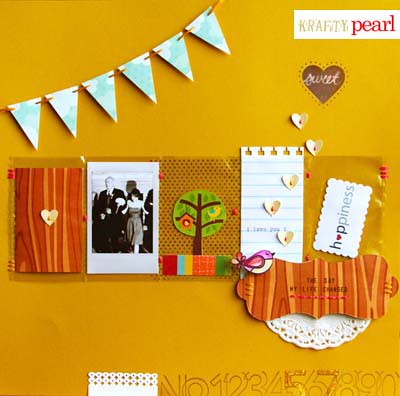
Here's a closer look:
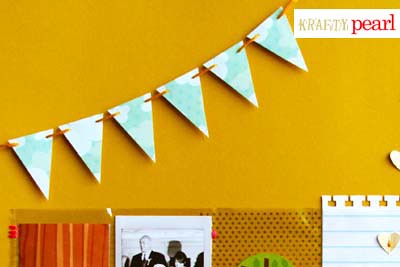
Hand cut pennants from cute My Little Shoebox pattern paper stitched together with embroidery floss and adhered to layout with 3D Dots:
Punched hearts folded in half and secured with embroidery floss; LOVE the Martha Stewart heart all over the page punch! Used it to punch a 'window' backed by a pigment ink stamped transparency:

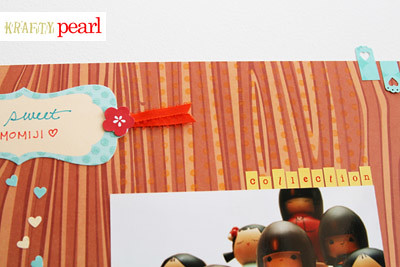
Hand cut label shape by tracing MLS cardstock label remnant used as template; Stickle glittered embellishment to highlight the date of 5/7:

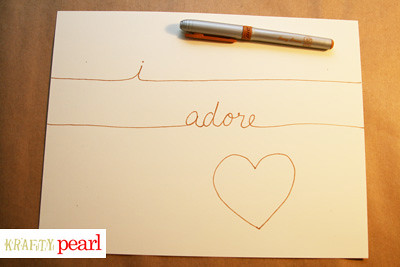
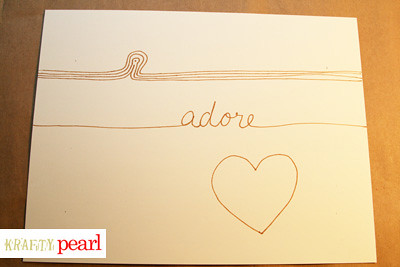
Hand stitched details to secure page protector to cardstock; watercolored stamped MLS bird image:

Don't you just love pockets too!?
P.S. I'm now on Two Peas in a Bucket, Scrapbook.com, and Flickr!
- KRAFTY pearl
Used in this layout: Old business card pocket sheet (similar to this) cut in half; My Little Shoebox bird stamp, pattern papers; Stampin' up roller numbers stamp; Martha Stewart heart all over the page punch; EK Success border and heart punches; Adirondack pigment inks; Stickles; basic letter stamp set (love this one from Staples); 3D Dots; transparency; watercolor
Here's a closer look:
Hand cut pennants from cute My Little Shoebox pattern paper stitched together with embroidery floss and adhered to layout with 3D Dots:
Punched hearts folded in half and secured with embroidery floss; LOVE the Martha Stewart heart all over the page punch! Used it to punch a 'window' backed by a pigment ink stamped transparency:
Hand cut label shape by tracing MLS cardstock label remnant used as template; Stickle glittered embellishment to highlight the date of 5/7:
Hand stitched details to secure page protector to cardstock; watercolored stamped MLS bird image:
Don't you just love pockets too!?
P.S. I'm now on Two Peas in a Bucket, Scrapbook.com, and Flickr!
- KRAFTY pearl