Home Is Where the Heart Is

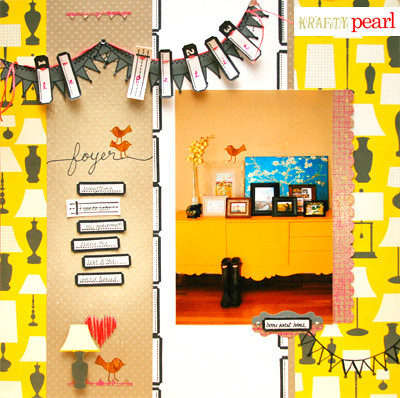
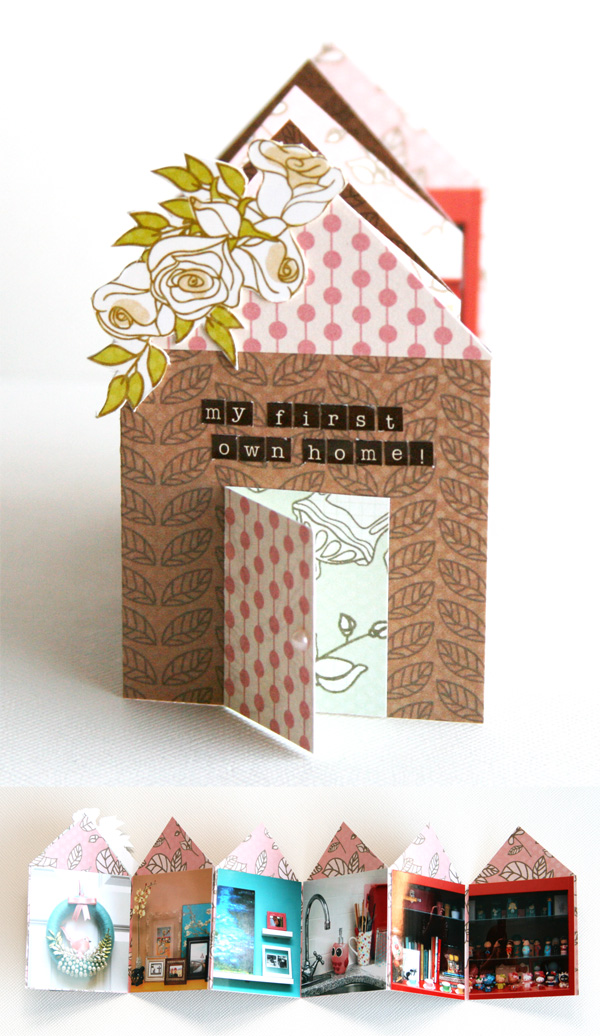
Hope you had a great weekend! Today, I'm sharing a special little mini album. I love my apartment and all the bright colors in it. There isn't a single detail I didn't design myself. I documented my labor of love in this mini album:


Materials Used: Kaisercraft Lil Primrose Proper, Collectables Die-Cuts, Paper Pad, Tiny Alphas

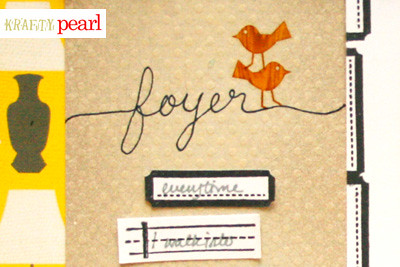
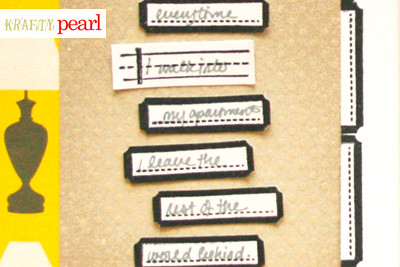
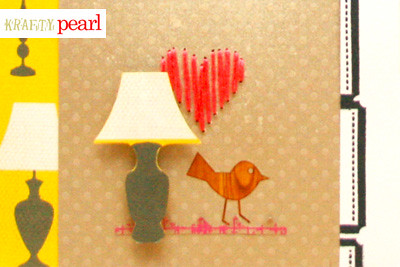
This is my first own home, a cozy apartment with many bright contrasting and welcoming colors. The Kaisercraft Lil Primrose collection had just the perfect touch and colors to complement the photos. The best part of the mini is how easy it is to make.

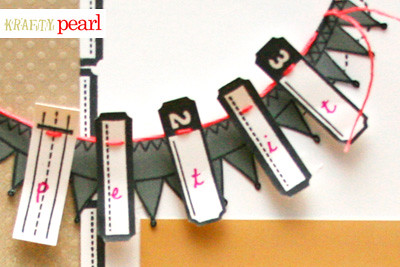
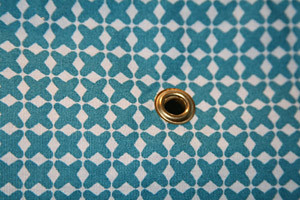
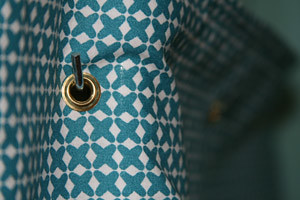
To create your own house shaped mini album, cut a 2 inch by 12 inch strip of cardstock. Score at every 2 inch mark, and fold in a zig zag manner. To create the door, cut a small piece of pattern paper and fold in half, adhere to the front of the house, and finally add a pearl to create the doorknob. Add photos and embellishments to finish the mini.

Thanks for stopping by!
- KRAFTY pearl

Le Petit Foyer

Lately, I've been learning to be a better blogger by taking clearer photos to go with blog posts, scheduling them on a weekly basis and of course staying extremely motivated to create things that will allow me to continue sharing layouts and ideas. So bear with me!

This week I'm sharing a layout I made about one of my fave places in my apartment, my foyer. It happens to meet two challenges on Two Peas. Check out the challenges or submit your layouts here: Studio Calico and Love Bug: Stitch a shape on your page.

About my foyer: it is a bit small and not at all fancy, but it's mine and I love it. Every time I come home, I'm greeted by some of my favorite photos on my bright sunny yellow Trollsta sideboard from Ikea and no matter how long my day was, it brings a smile to my face.


blog-studiocalicotwopeaschallengepearllui

Used in this layout: pattern papers from Studio Calico, Hambly Screen Prints; mist by Studio Calico's Mister Huey; stamps from Studio Calico, A Muse; bird rub-ons by Studio Calico; embroidery floss by DMC; and cardstock from Bazzill Basics and Close To My Heart.


Here's a closer look. Label pennants made by stitching Studio Calico stamped labels:
blog-studiocalico4


Hand written 'foyer' title embellished with Studio Calico rub-on birdies:
blog-studiocalico1


Journaling: 'Every time I walk into my apartment, I leave the rest of the world behind.'
blog-studiocalico2


Hand-stitched heart/paper piercing:
blog-studiocalico3

Hope you enjoyed my layout and the challenges from Two Peas!

By the way, I'm now on Pinterest and totally loving it. To the right of this post, you'll find all of my boards. Check them out and let me know if the pics inspire you the way they did for me!

- KRAFTY pearl

Before & After: Curtains & Grommets

One of my 2011 goals is to organize and maintain my craft tower. It's a Metro commercial shelving unit on casters from the Container Store that I customized for my craft storage needs. I love it because it's adjustable, sturdy and mobile. But it is somewhat industrial looking and as much as it is organized, it still stuck out like a sore thumb sitting in the middle of my living room. After some brainstorming, I decided to give it a softer, cozier look and cover the mess by adding curtains to it!

blog - before and after


I bought really cute teal printed Boodalee bed sheets that I found on Gilt Groupe a few months back. After some cutting, trimming and sewing, a single bed sheet was turned into two pieces of curtains. And with some finishing touches, I now have curtains to camouflage the tower.

Here's a quick how-to:

You'll need: fabric, grommet kit*, hammer, s-hooks**

blog - directions - 01

*Recommendation: Get the 'General' grommet tool kit that can be found at Home Depot. It comes with everything you need to set grommets along with the grommet pieces.

**Recommendation: Get the Lehigh s-hooks that can also be found at Home Depot. It has a nice deep hook that will keep the curtains on.


Set grommet with the backside of fabric up. Hammer in the lock using the grommet setter:
blog - directions - 02

Once locked, the hole is reinforced from tearing and the front side will look like this:
blog - directions - 03

Hook s-hooks onto craft unit:
blog - directions - 04

Hook fabric onto s-hooks:
blog - directions - 05

Voila! Finished curtains!
blog - curtains finished

That's it for now. Hopefully next time, I'll share some of my paper craft work!

Until the next post!
- KRAFTY pearl