Here to post a Kaisercraft Tuesday Tip one week late...
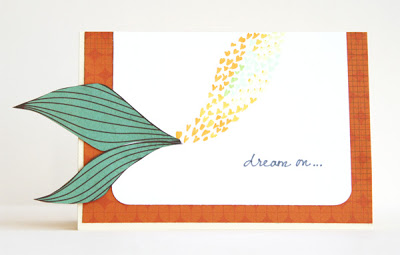
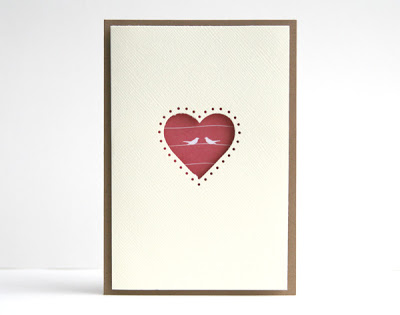
As you have likely seen in many of my projects, I love using hearts in different ways to create dimension and patterns. Today, I’m going to show how you can simply use pattern paper and hearts folded in half to create a simple and sweet turning note card.

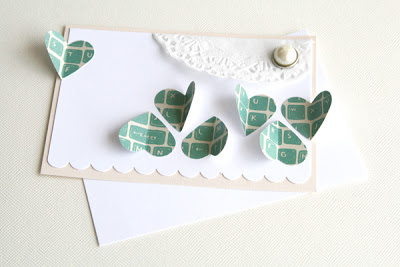
It's so simple! The best part about this card is that you get dimension but it folds up and mails relatively flat. You can also make this a card instead of a turning note card by leaving the pearl brad out.
Thanks for stopping by!
- KRAFTY pearl
As you have likely seen in many of my projects, I love using hearts in different ways to create dimension and patterns. Today, I’m going to show how you can simply use pattern paper and hearts folded in half to create a simple and sweet turning note card.
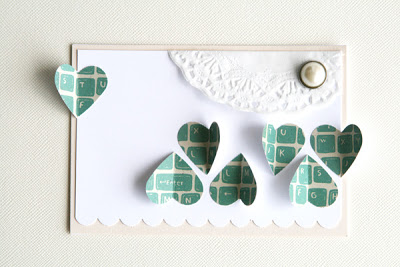
Materials Used: Kaisercraft Technologic Paper Pad, Kaisercraft Pearl Brad, Martha Stewart Heart punch, Stampin' Up Scallop Edge punch, doily
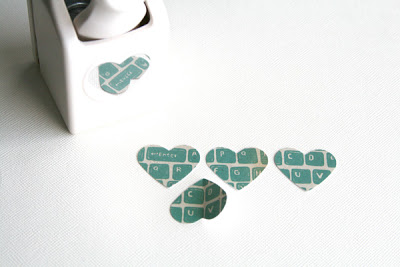
Step 1: Punch hearts right-side-up and upside-down.
Step 2: Fold hearts in half and paste one side of the base down. Alternate to create a pattern or do it randomly to create random dimension.
It's so simple! The best part about this card is that you get dimension but it folds up and mails relatively flat. You can also make this a card instead of a turning note card by leaving the pearl brad out.
Thanks for stopping by!
- KRAFTY pearl